A rotary microtome is used to prepare tissue sections for pathological examination and diagnosis. Cutting high-quality paraffin sections requires extensive skill and experience. Proper use of the instrument ensures the accuracy, safety, and high quality of the samples. This guide provides step-by-step instructions to help users effectively operate the rotary microtome, whether for routine histology or research applications.
What is a rotary microtome
Paraffin sectioning is the most common preparation technique in histology. Its application is not limited to observing the morphology and structure of normal cells, but is also the primary method used in pathology and forensic medicine to study, observe, and determine changes in cellular tissue morphology. Paraffin sectioning is also widely used in other scientific research fields. The rotary microtome is a commonly used auxiliary tool for paraffin embedding in pathology.
Main applications of rotary microtomes
Laboratories: used to observe the morphological structure of normal animal and plant cell tissues.
Clinical laboratories: used to observe the morphological structure of normal animal and plant cell tissues.
Universities and biological research centers: used to study, observe, and determine morphological changes in cell tissues.
Pharmaceutical companies and medical laboratories: used for immunohistochemistry, immunofluorescence, genome sequencing, etc.
Microtome Type
Rotary Microtome
Features:
1. Equipped with a blade holder
2. Only one blade can be installed at a time for trimming and sectioning
Advantages: Allows continuous cutting, particularly suitable for biopsies, including needle biopsy samples
Sliding Microtome
Features:
1. During trimming, the blade slides with the specimen; during sectioning, the specimen remains stationary while the blade slides.
2. Can install two blades for trimming and sectioning.
Advantages:
1. Saves time when cutting large tissue blocks.
2. Can install two blades simultaneously for trimming and sectioning, saving on blade usage.
3. Primarily used for research on large tissues and observation of multi-layered tissues.
Disadvantages:
1. Can only cut once per session.
2. Requires installation of an air purifier; eliminating static electricity increases costs.
3. Not suitable for small tissue sections, including endoscopic biopsies.
4. Cutting small tissues is time-consuming and slows down sectioning speed.
Vibrating microtome
Features:
1. Cuts fresh tissue without fixation or refrigeration.
2. Cuts thicker sections: 20–100 μm
Advantages:
1. Lipid-soluble substances and surface antigens in the tissue are better preserved than in non-frozen tissue samples, do not form crystals, and do not cause any damage to the antigens in the tissue sample.
2. Primarily used to demonstrate the distribution of antibodies in the nervous system, particularly suitable for immun electron microscopy observation.
Types of Rotary Microtomes
Manual Rotary Microtome:
Handwheel rotation operation. Long-term use of the motor gear may cause wear and tear, affecting injection accuracy and resulting in insufficient data display, but it is relatively low-cost.
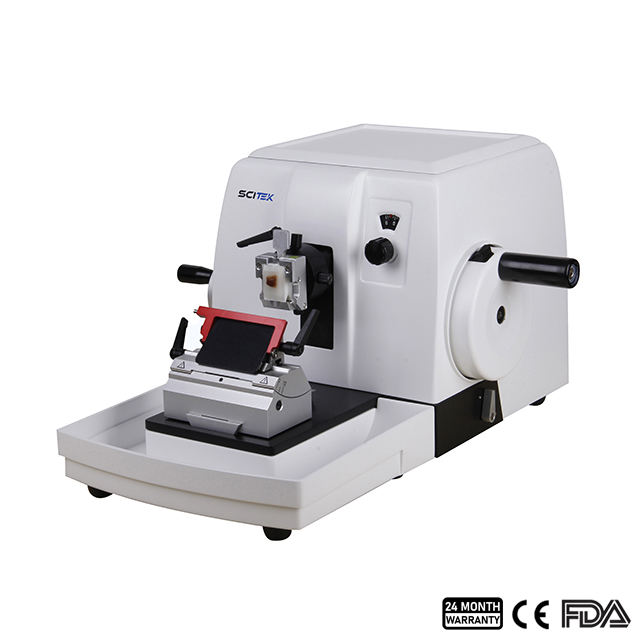
Rotary Microtome
Section Thickness Setting Options 0–2μm increment 0.5μm
2–20μm increment 1μm
20–60μm increment 5μm

Rotary Microtome
Section Thickness Setting Options 2~10μm, increment 1μm
10~20μm, increment 2μm
20~60μm, increment 5μm
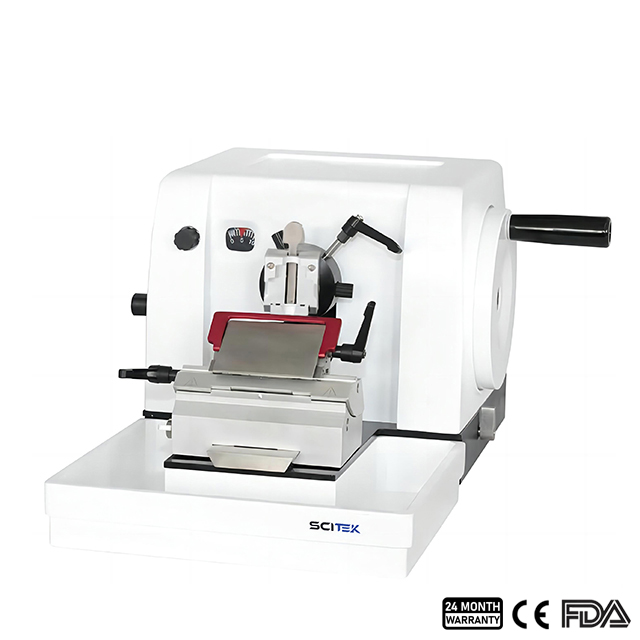
Rotary Microtome
Setting Values From
0-μm in 0.5μm –increments
From 2-10μm in 1μm-increments
From 10-20μm in 2μm-increments
From 20-60μm in 5μm-increments
Semi-Automatic Rotary Microtome:
Semi-automated, equipped with an injection knob or external control panel.
The electric injection system ensures injection accuracy. The machine has a longer lifespan, provides more complete data display, and better aligns with clinical scenarios.
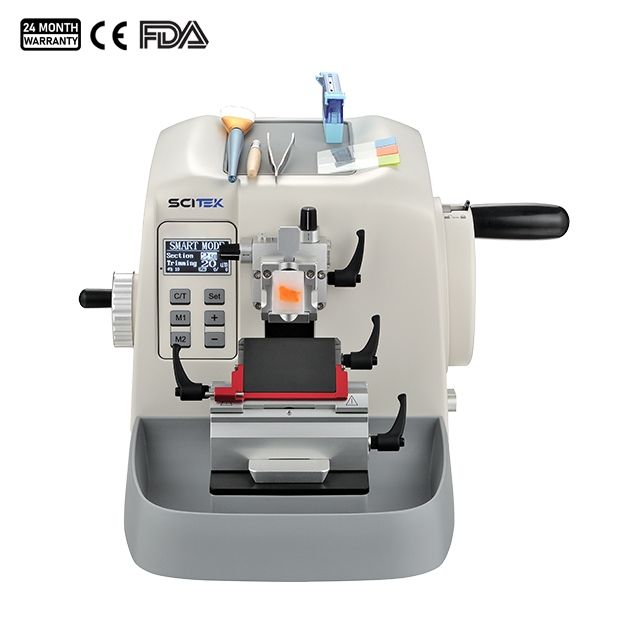
Semi Automatic Microtome
Slice thickness range 0.25-100um
0.25-2.5um increment 0.25um
2.5-5um increment 0.5um
5.0-10um increment 1um
5.0-10um increment 1um
10-30um increment 2um
30-60um increment 5um
60-100um increment 10um
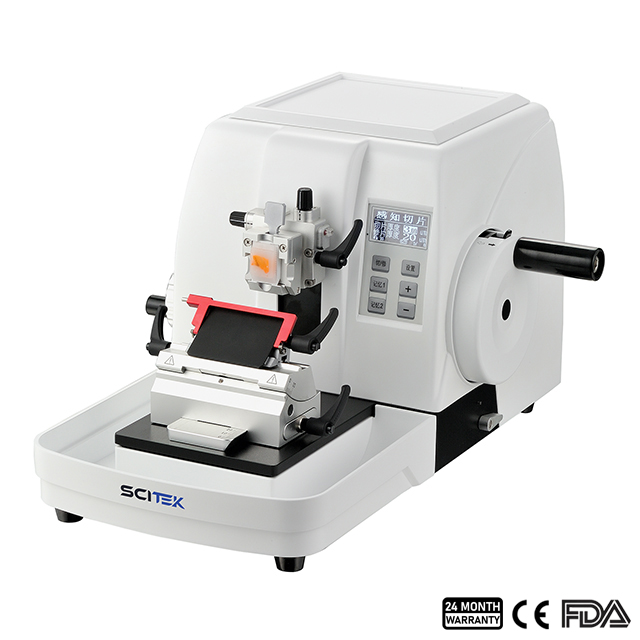
Semi Automatic Microtome
Section Thickness Setting Range 0.25~100μm
0.25~2.5μm, increment 0.25μm
2.5~5μm, increment 0.5μm
5.0~10μm, increment 1μm
10~30μm, increment 2μm
30~60μm, increment 5μm
60~100m, increment 10μm

Semi Automatic Microtome
Section Thickness Setting Range 0 – 60μm
0~1μm increment 0.25μm
1~10μm increment
1μm
10~20μm increment 2μm
20~60μm increment 5μm
Automatic Rotary Microtome:
Fully automatic slicing functionality, equipped with an injection knob or external control panel, fully automated.

Fully Automated Microtome
Section Thickness Setting Range 0.25~100μm
0.25~2.5μm, increment 0.25μm
2.5~5μm, increment 0.5μm
5.0~10μm, increment 1μm
10~30μm, increment 2μm
30~60μm, increment 5μm
60~100μm, increment 10μm
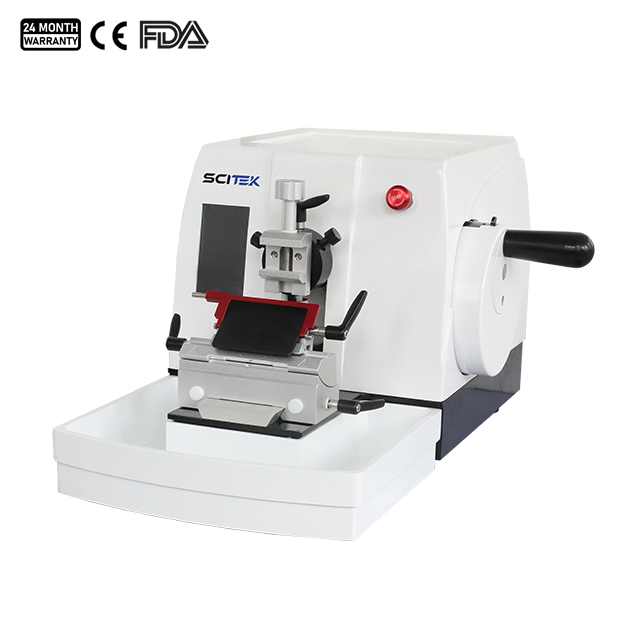
Fully Automated Microtome
Section Thickness Setting Range 0.5~5μm, increment 0.5μm
5~20μm, increment 1μm
20~60μm, increment 5μm
60~100μm, increment 10μm
Fully Automated Microtome
Cryostat Microtome:
Its cryogenic technology allows samples to be processed quickly, reducing the impact of chemical fixation on tissue. Typically operated between -20°C and -30°C to preserve the structural integrity and cellular morphology of tissue samples.
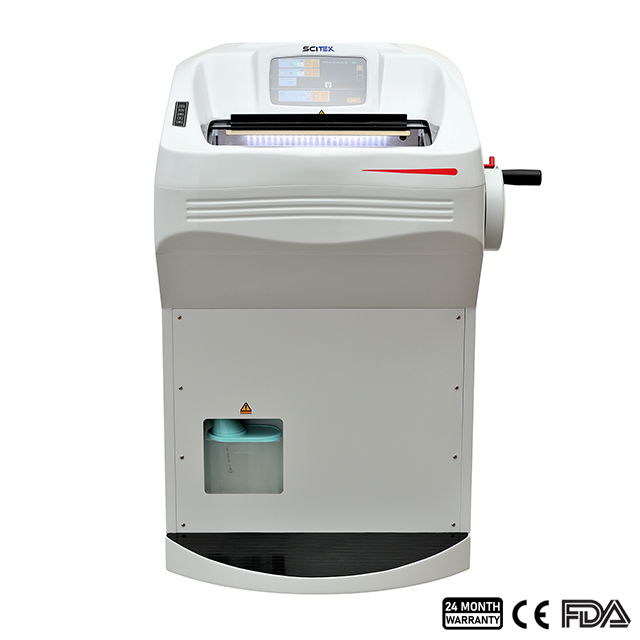
Cryostat Microtome
Chamber Temperature : 10℃~ -50℃
Freezing Sshelf Temperature : 0℃~ -50℃
Number of Freezing Station : 18 pcs
Pelletier Number : 6 pcs
Rotary Microtome Components and Functions
Main components for daily operation of rotary microtomes:
Injection:
The high-precision injection system uses key components such as cross roller bearings, spindles, stepper motors, and connecting rods to ensure stable sectioning quality and meet injection accuracy requirements of 0.5 μm.
Fixation:
The visual pointer features marked scales on the specimen head, supporting real-time, reversible adjustments, particularly suitable for thicker tissues or embedded sections prepared at special cutting angles.
Slicing:
The high-precision encoder rapidly receives automatic cutting signals, and upon completion of cutting, the digital brake automatically activates to secure the handwheel, enhancing safety.
Safety:
The handwheel system incorporates a dual-lock mechanism—handwheel lock and lock; the retraction device provides user protection.
How to use a rotary microtome
I. Semi-thin sections
Connect the power supply and turn on the main switch;
Select the section thickness: The typical section thickness range is 0.25–100 μm. Use the “+” and “-” buttons to adjust the thickness value, with the unit being μm;
Place the embedded block at the center of the sectioning head, tighten the locking screw, and secure the sample as required;
Install the glass blade with the water tray (ensure the handwheel is locked before installing the blade), and align the blade edge with the sample;
Select the sectioning mode: automatic or manual sectioning. After selecting the mode, the instrument returns to zero, and section counting begins;
Collect the sections: use a section retrieval ring to retrieve the thin sections floating in water and attach them to a slide. Dry at 40–60°C, stain with TBO, wash, and mount with 50% glycerol for observation and photography.
II. Paraffin Sections
Connect the power supply and turn on the main switch;
Select the section thickness: adjust the thickness value using the “+” and “-” buttons, unit: μm;
Place the prepared embedded block at the center of the sectioning head, rotate the fixing screw, and secure the sample according to requirements;
Install the blade holder, insert a disposable blade, tungsten steel blade, or standard cutting steel blade (ensure the handwheel is locked before installing the blade), and align the blade edge with the sample;
Select the cutting mode: Automatic cutting or manual cutting; after selecting the cutting mode, the instrument returns to zero, and the cutting count begins;
Collect the sliced material: use a brush to lift the wax strip and place it into the wax strip box;
Mounting: Use a rounded-tip knife to cut the wax strip, select intact material, and place it onto a slide coated with egg white oil (add distilled water to the egg white oil to keep the material floating on the surface);
Drying: On an electric heating drying bench, once the material is flat, place the slide in a spreading tray and dry it in a 36°C constant-temperature oven for approximately four days or in a 60°C drying machine for two hours;
Dewaxing, staining, and mounting: Dewax the material with xylene, then stain it according to the experimental purpose. Mount and dry the material using neutral resin or Canadian resin.
10 Tips for Improving Section Quality
Keep the blade sharp: Regularly replace or sharpen the blade to ensure sharpness and reduce section damage.
Adjust the cutting speed: Adjust the cutting speed according to the sample type to avoid uneven sections caused by excessive speed.
Keep the sample cool: Use a cooling system or ice cubes to maintain a low temperature for the sample and reduce tissue deformation.
Ensure the cutting table is level: Ensure the microtome table is level to avoid skewed slices caused by incorrect cutting angles.
Clean the equipment: Regularly clean the microtome to prevent dust or residue from affecting slice quality.
Adjust slice thickness: Adjust slice thickness as needed to avoid slices that are too thick or too thin.
Check sample fixation: Ensure the sample is securely fixed to prevent loosening during cutting.
Use appropriate cutting medium: Select an appropriate cutting medium to improve slice flatness.
Avoid excessive cutting: Avoid prolonged continuous cutting to prevent sample damage or blade overheating.
Regularly calibrate the equipment: Regularly calibrate the microtome to ensure its accuracy and stability.
Rotary Microtome Maintenance Tips
Do not use hard or sharp objects to scrape the machine;
Wipe the surface with clean water, not chemical agents;
Avoid shaking or bumping the machine during operation;
Tighten all screws on the machine using the provided tools every two months;
If the machine will not be used for an extended period, unplug the power cord, store the equipment properly, and cover the optical imaging components with a cloth to prevent dust accumulation.
Conclusion
In conclusion, mastering the use of a rotary microtome is essential for achieving high-quality tissue sections in various laboratory applications. By following proper operating procedures, performing regular maintenance, and ensuring the right settings, you can enhance both the accuracy and longevity of your equipment. With practice, you'll be able to produce consistent, reliable results for your histological analysis.

 English


